Gonna try to paint with light using low shutter speed and a tripod. AT NIGHT. this video was pretty helpful with getting aquatinted with the subject. waaaatch it! ill post finished products.
http://www.youtube.com/watch?v=4IS-DBZEXcA
Friday, May 30, 2014

Sunday, May 11, 2014
HAPPY MOTHERS DAY
well remember that beautiful mirror i printed an image onto? i gave it to my mommy for mothers day and she cried and said i was amazing. also LOOK AT THIS COOL PICTURE I TOOK. its of our studio (in progress) at school. peeeece

Monday, April 14, 2014


ALTERNATIVE PROCESS FINISH-END PT. 2
my original plan was to use super sauce to transfer this image onto the mirror. super sauce is just a solution that is applied onto the surface you are transferring the image to. after you apply the sauce you are to quickly roll the image onto the surface with a paint roller, ensuring there are no air bubbles. if there are air bubbles, it was cause the image to rip off when peeling the image off of the surface u transferred it to. Unfortunately the super sauce method was not a good fit, because the surface was not flat, the image was not transferring fully and clearly
>>>>>>>>>>>>>>>>>>>>>>>>>>>>>>>>>>>>>>>>>>>>>>>>>>>>>>>>>>>>>>>>>>>>>>>>
My second... third... fourth... attempt didn't work so well, i continued to try to use the super sauce determined to get the transparent look i wanted, but never ever got it to work. My secondary plan was to use contact paper. With contact paper you must print using an ink jet printer, or the ink will rub away completely. I just printed the image on copy paper, and then cut out contact paper that was a little bit bigger than the image. i peeled the sticky side of the contact paper up, and stuck the image to it, print down. Then soaked it completely in hot water, and then let it dry completely. after letting it dry, i dabbed my finger in lukewarm water, and rubbed the back of the image in circular motions, rubbing the paper away, but leaving the ink stuck to the contact paper. i then let it dry again, regaining the stickiness to the contact paper, then stuck it to the mirror, making sure it was stuck completely and there were NO AIR BUBBLES. that's basically it! i mean i didnt get the exact finished product i wanted but it was as good as i was going to get it without ruining the mirror! will post finished product next!
ALTERNATIVE PROCESS: FINISH-END PT. 1
my first step in creating an amazing work using an alternative process, began with an idea. This final product could not be a flat image. My inspiration was this beautiful hand mirror i remember as a child exploring my great aunts bedroom. This mirror has bumps, and ridges, lines and details. and meaning. my other inspiration came from a photograph on my fridge. i walk by this photo of my long time deceased grandmother everyday, and think nothing of it, but its quite different for my mother. My mom walks by that picture everyday and tells her that she loves and misses her everyday. I decided i wanted to do something nice for my mom, its not too often me or anyone does that. I wanted my mom to be able to look at herself, and see her mother. this beautiful thought was quite hard to physically produce though. will talk about my process and struggles next post!
Tuesday, March 25, 2014
Transferring onto glass using SUPER SAUCE
for my alternative process, i wanted to transfer onto glass. i love the idea of seeing through the color. I used the super sauce transfer method, which is traditionally used on transferring onto metal. It was pretty simple to do, and came out pretty great. ill upload the original image, along with the image on a surface, and the image in my hand. The image is more intense when it is against a white surface.


Friday, March 7, 2014
kaleidoscope
SO sadly i was told to look on how to print images onto a quilt we are gonna make i guess?... i'm so not into this idea at all as you can see. this website looked helpful on the subject. http://www.catswhoquilt.com/photoquilts.html
Also we were told to look up artists who use alternative processes.also not feelin that but this website has a few images i really enjoy. it says it is contemporary lens-less photography. very cool
http://kiernangallery.com/without-glass/
Also we were told to look up artists who use alternative processes.also not feelin that but this website has a few images i really enjoy. it says it is contemporary lens-less photography. very cool
http://kiernangallery.com/without-glass/
Thursday, March 6, 2014
transferring images onto shirts
SO jaclyn took some pictures from some magazines, and newspapers, and things like that, with the goal of transferring them onto a shirt. she used a white t shirt, and i tried this process also, using a black tank top. My images were unsuccessful, i believe it was because my shirt was black. We did this using gel medium. coating the actual image with a tick layer of the gel medium, and quickly placing it on the shirt, assuring there are no air bubbles to ruin your image. then let it dry completely. after drying, carefully wet the paper enough so that u can gently rub it off in a circular motion, leaving only the transferred image. here is actual post on transferring images onto fabric
http://aeroplane8.blogspot.com/2014/02/alternative-process-printing-photos.html
http://aeroplane8.blogspot.com/2014/02/alternative-process-printing-photos.html
Cyanotypes
Cyanotypes are prints made from a negative, using light exposure, some chemicals, and cotton paper. Watching Alix do this process was nice, and it seemed pretty simple. She showed us the finished product and it looked so great, but unfortunately the run she did here, did not work at all. The chemicals werent exposed to enough direct sunlight i think, making the chemicals basically do nothing. here is her own blog post on Cyanotypes, with materials and instructions. http://alixblair.blogspot.com/2014/02/cyanotypes.html
anthotypes with taylor!
Anthotypes are printed photos made from the juice and pigments of plants, and vegetables. Taylor did this using red cabbage. She took just some red cabbage and some water, blending it into a nice liquid, with a dark purple color. IT SMELLS AWFUL. DO NOT USE RED CABBAGE IT STANKS. Im sure it will come out beautiful though. here is the link to her blog post on anthotypes!
http://tumblinggdice.blogspot.com/2014/02/anthotypes.html
Monday, February 24, 2014
printing on glass!
i had this awesome idea of taking some dirt and some dead flowers and throwing them on a piece of glass. I dont want to completely cover up the glass with dirt, i want there to be some light coming through in some areas (Glass showing without dirt on it). I would have it supported by something so i can get underneath it, and photograph it. I thought that would be an awesome image. Since we are working with alternative processes right now, why not after photographing the image, transferring it onto glass. this site here has a list of materials, and steps to successfully print an image onto glass. http://www.instructables.com/id/Transfer-Photos-onto-Plexiglass/ hopefully ill be able to do a test run shortly.
Sunday, February 9, 2014
Making Metal Prints
Alternative printing is pretty awesome if you ask me. There is a photo printed on metal in my photography classroom, which made me want to look into it a little more. Im still a little unsure of the easiest way to do it, and all the tools needed to do it, but here is a youtube link to a video i watched that put an idea in my head.
https://www.youtube.com/watch?v=jkN0wQSXHQo&feature=youtube_gdata_player
This website here, demonstrates some ways to overcome some of the obstacles you may come across in the process of making a beautiful metal print.
http://www.booksmartstudio.com/products/view/15_booksmart-fine-art-metals/153_metal-printing-basics/page
https://www.youtube.com/watch?v=jkN0wQSXHQo&feature=youtube_gdata_player
This website here, demonstrates some ways to overcome some of the obstacles you may come across in the process of making a beautiful metal print.
http://www.booksmartstudio.com/products/view/15_booksmart-fine-art-metals/153_metal-printing-basics/page
Friday, February 7, 2014
subject 2
OKAY here are the final images of my house. ENJOY


| Camera | Canon EOS REBEL T3 |
| Focal Length | 29mm |
| Exposure | 1/60 |
| F Number | f/4.5 |
| ISO | 1600 |
| Camera | Canon EOS REBEL T3 |
| Focal Length | 29mm |
| Exposure | 1/60 |
| F Number | f/4.5 |
| ISO | 1600 |
| Camera | Canon EOS REBEL T3 |
| Focal Length | 29mm |
| Exposure | 1/60 |
| F Number | f/4.5 |
| ISO | 400 |
| Camera | Canon EOS REBEL T3 |
| Focal Length | 42mm |
| Exposure | 1/60 |
| F Number | f/5 |
| ISO | 800 |
| Camera | Canon EOS REBEL T3 |
| Focal Length | 29mm |
| Exposure | 1/60 |
| F Number | f/10 |
| ISO | 1600 |
| Camera | Canon EOS REBEL T3 |
| Focal Length | 29mm |
| Exposure | 1/60 |
| F Number | f/4.5 |
| ISO | 400 |
| Camera | Canon EOS REBEL T3 |
| Focal Length | 29mm |
| Exposure | 1/60 |
| F Number | f/4.5 |
subject 1
here are the few images that i took in school of the ceramics classroom. wish i got more but im happy with what i have!
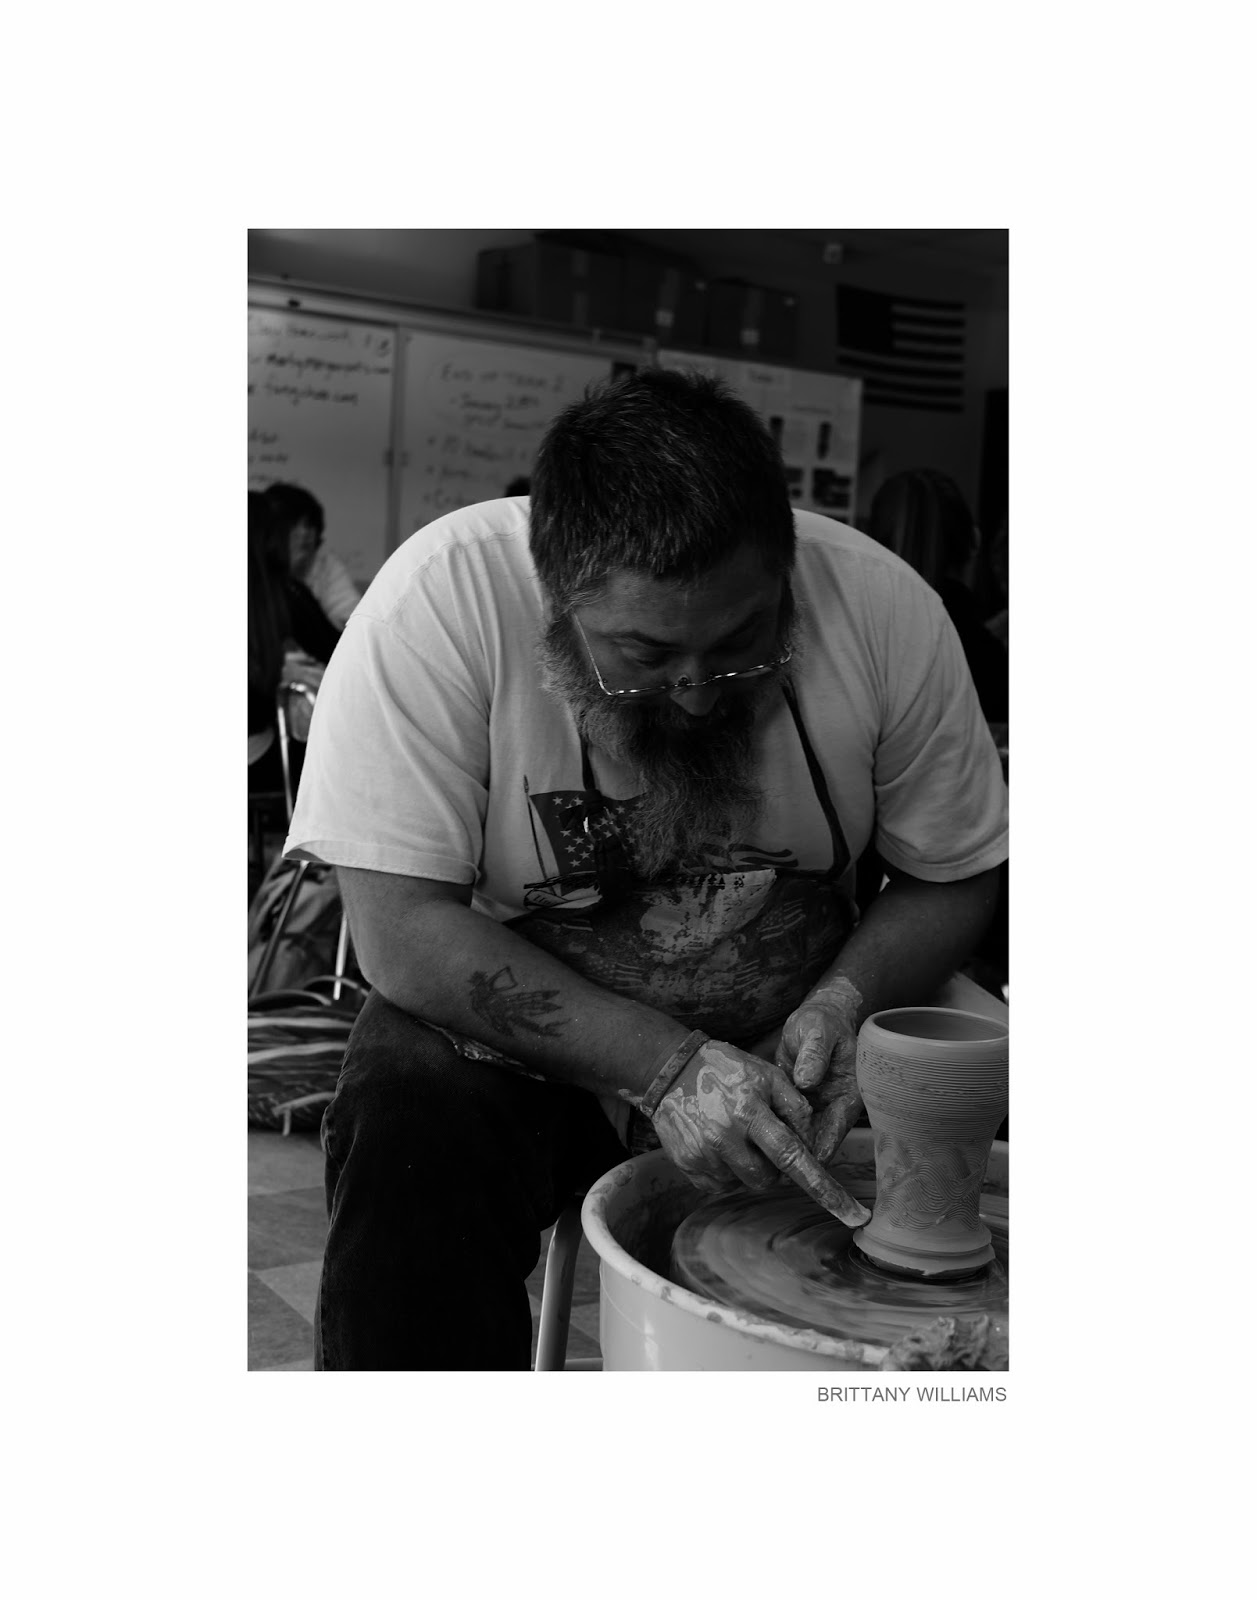


| Camera | Canon EOS REBEL T3 |
| Focal Length | 34mm |
| Exposure | 1/30 |
| F Number | f/5 |
| ISO | 200 |
| Camera | Canon EOS REBEL T3 |
| Focal Length | 29mm |
| Exposure | 1/13 |
| F Number | f/5 |
| ISO | 200 |
| Camera | Canon EOS REBEL T3 |
| Focal Length | 30mm |
| Exposure | 1/13 |
| F Number | f/9 |
| ISO | 800 |
| Camera | Canon EOS REBEL T3 |
| Focal Length | 30mm |
| Exposure | 1/6 |
| F Number | f/9 |
| ISO | 800 |
Thursday, February 6, 2014
...
Starting off the year, my idea was to photograph the inner workings of a classroom in my school. But that didnt really work out how I wanted it to, so i got a few good images and got out of there!! Recently i got a job and do not have the time to take the amount of pictures i would like. So on my free time in between working and babysitting, i photograph my lovely house and things inside it i find nice. Once Photoshop stops closing out in the middle of me doing things, i will upload the images(:
Thursday, December 12, 2013
Its been a while...
HEY! I know i haven't been posting like at all recently, so ill share some things that have happened recently with you. I visited the Boston aquarium BUT for the safety of my camera i left it behind :( i do on the other hand have an amazing phone camera and still managed to take a few good pictures, some i am even entering into the scholastic arts award show. I also recently decided to start my portfolio, my subject being a ceramics classroom in my school. I've got some good pictures so far, only 1 i really like so far though. its a work in progress!!!
So here are the images i decided to enter into the award show...


So here are the images i decided to enter into the award show...
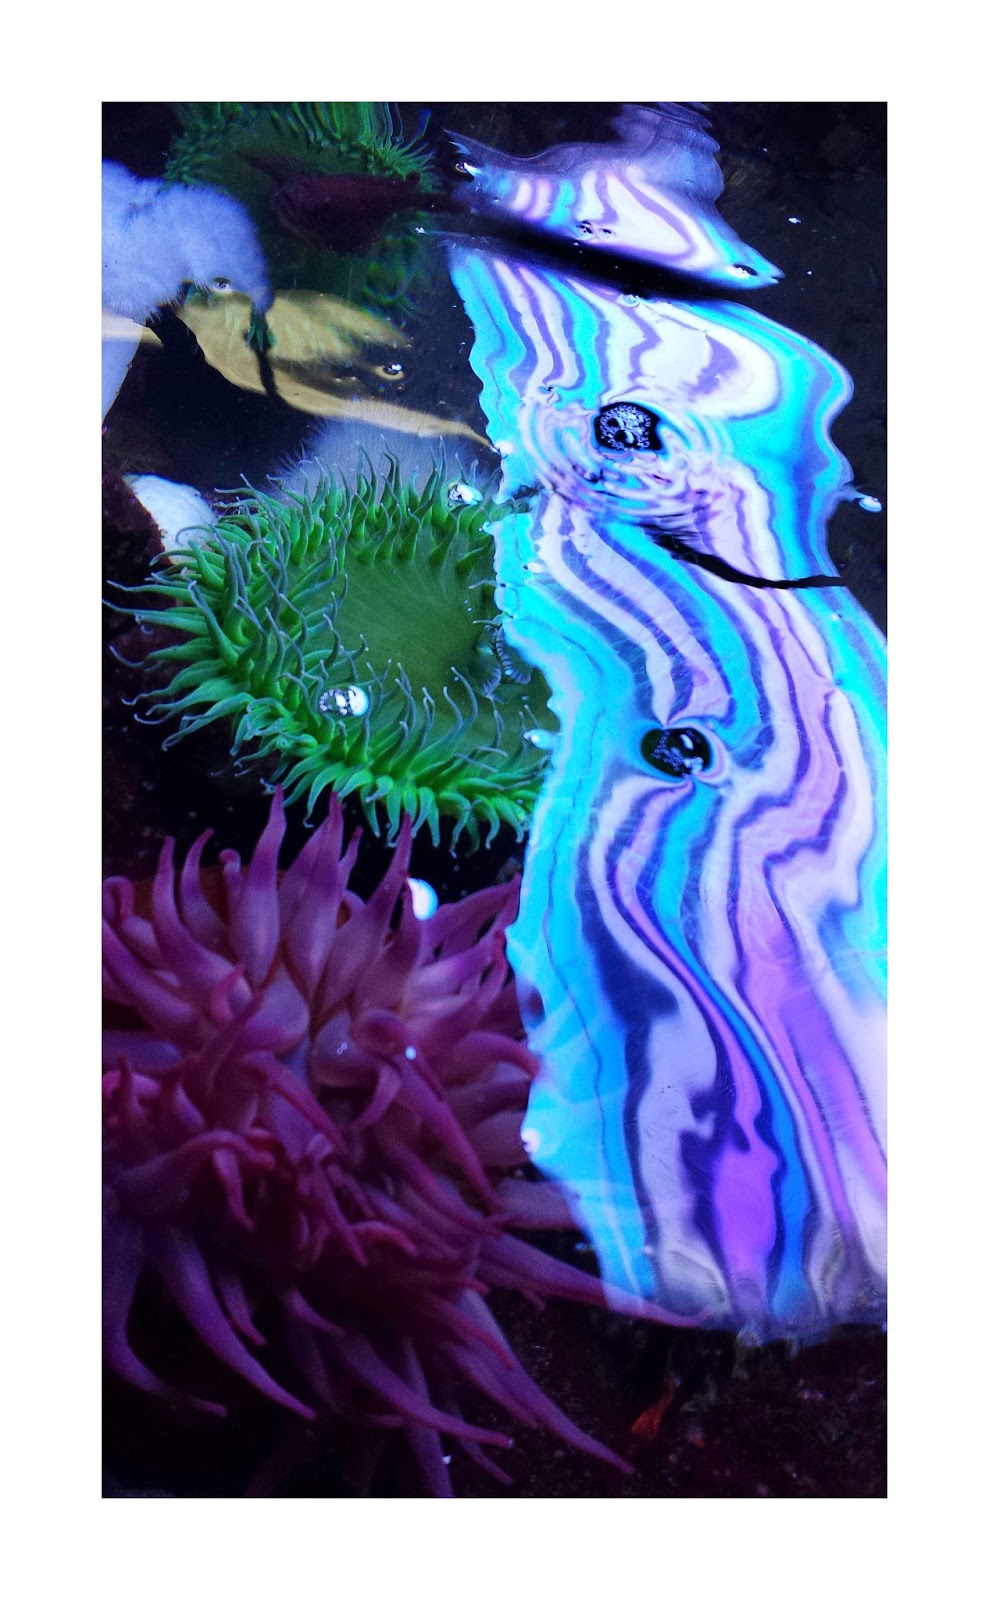
| Camera | SAMSUNG-SGH-I337 |
| Focal Length | 4.2mm |
| Exposure | 1/120 |
| F Number | f/2.2 |
| ISO | 100 |

| Camera | SAMSUNG-SGH-I337 |
| Focal Length | 4.2mm |
| Exposure | 1/15 |
| F Number | f/2.2 |
| ISO | 200 |

| Camera | DSLR-A100 |
| Focal Length | 18mm |
| Exposure | 1/15 |
| F Number | f/5.6 |
| ISO | 800 |

| Camera | DSLR-A100 |
| Focal Length | 30mm |
| Exposure | 1/8 |
| F Number | f/5.6 |
| ISO | 800 |

| Camera | DSLR-A100 | ||||||||||
| Focal Length | 18mm | ||||||||||
| Exposure | 1/25 | ||||||||||
| F Number | f/3.5 | ||||||||||
| ISO | 800
|
Saturday, November 9, 2013
Eduard Jean Steichen
Born in Bivange, Luxembourg 1879, American photographer Eduard Steichen was naturalized as a U.S. citizen in 1900, signing the papers as Edward Steichen, but continued to use his birth name till after World War 1. At age 15 he came across a camera shop which he visited often out of curiosity until he finally purchased his first camera. Also in 1900, Steichen met Alfred Stieglitz while in New York City where he bought 3 of Edward Steichens prints. in 1904, he began to experiment with color photography.


This is a portrait of Auguste Rodin (1902)
I just really like facial features and expressions in this photo

The Pond-Moonlight (1904)
This image interests me because in February 2006, it was auctioned off and sold for 2.9 million dollars.
Friday, November 8, 2013
Gertrude Kasebier
One of the most influential American photographers of the early 20th century, Gertrude Kasebier was known for her evocative images of motherhood, and promotion of photography as a career for women. She formaly studied painting, and drawing, but quickly fell in love with photography. In 1894 she began studying the chemistry of photography in Germany. She returned to her ill husband in Brooklyn, determined to become a professional photographer, to support her husband and family. Kasebier said " I earnestly advise women of artistic tastes to train for the unworked field of modern photography. It seems to be especially adapted to them, and the few who have entered it are meeting a gratifying and profitable success."

This is a manipulated self portrait of Gertrude Kasbier. I just find this interesting because it is a self portrait, and is not a very common looking style.

This is a photograph of Chief Iron Tail, by Kasebier (1896)

This is a portrait of Evelyn Nesbit, taken in 1903. This is a great image, the pose and stare of the model is not being too seductive, but you still get drawn in and cannot take your eyes away!
Edward S. Curtis


In 1868, one of Americas finest photographers and ethnologist was born, around Whitewater Wisconsin. Edward and his family moved to Port Orchard, Washington in 1887, where his interest in photography led him to observe the Indians living on the Seattle waterfront. Later on, his portrait of princess Angeline, Chief Seattles daughter, would win the highest award in a photograph contest. Travelling on horse back through northern Montana he witnessed a valley floor with over 1000 tepees, a great sight for Curtis that changed his life. On Edward Curtis's website, his biography states that everything fell into place at that moment, it was clear to him that he was to record, with pen and camera, the life of a North American Indian. And that's exactly what he did, Curtis spent the next 30 years photographing and documenting tribes west of the Mississippi, from the Mexican border, to northern Alaska. Edward Curtis seemed to have a wonderful career as a photographer, spending his days doing what felt right to him.

This picture, like others of his, has an old feel. I like this because it has no man made qualities.

This photograph is titled "Gathering basket material"
I like the reflection in the water from the boat, but i especially like the mass of water towards the back that isn't just clear water.
Thursday, November 7, 2013
Jacob Riis
 Jacob Riis, born May 3rd, 1849 was a journalist and social documentary photographer whose photojournalism talents helped the impoverished in New York City. Living in New York, he experienced poverty first hand and became a police reporter writing about the living quality of the slums. This was his way of trying to alleviate the poor living conditions of the poverty stricken. Riis is considered one of the fathers of photography because of his early adaption of flash in photography.
This image by Riis, is Bandits Roost at 59 1/2 Mulberry street

Look at this funny picture i found i bet its fake!

Subscribe to:
Posts (Atom)